Building and Preparing to Fly a Quadcopter
In this section we will cover details regarding the process of building a quadcopter. This can be a daunting task in and of itself, and we hope that reading about a build from start to finish will help some feel more comfortable. In the spirit of transparency, we will say that we did not re-invent any wheels here and used Youtube a bit to help us get started. However, once we got down to to business it was all about datasheets and manuals.
Step 1: Initial Soldering
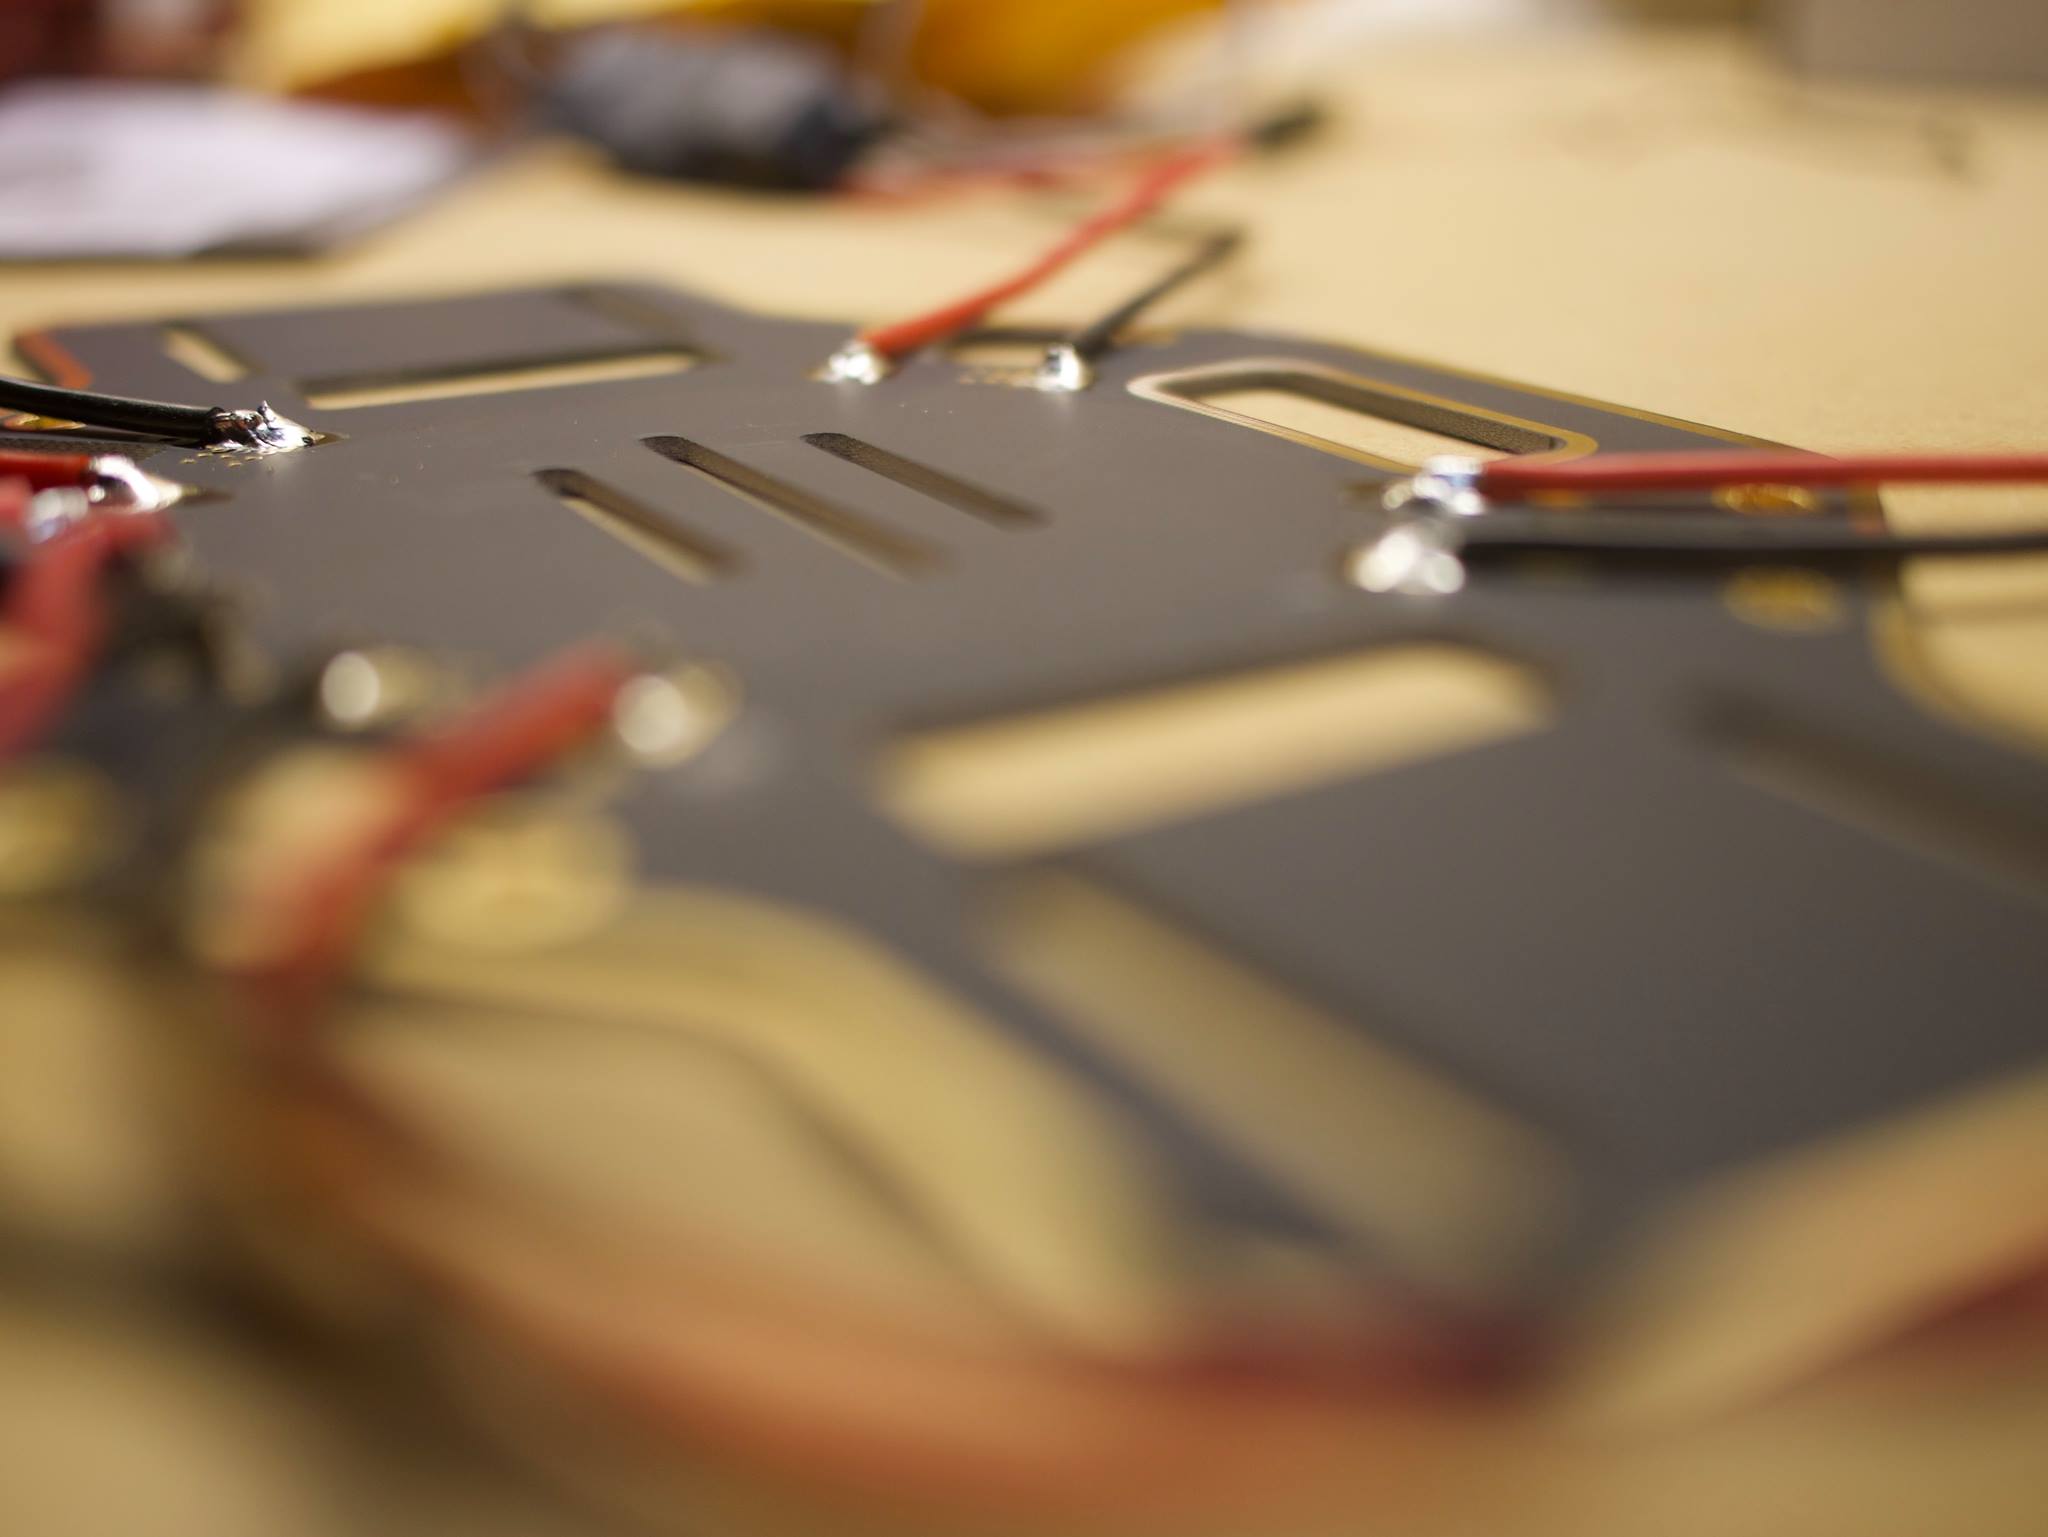
Most likely you will want to knock out as much soldering as possible before doing anything else. By soldering first you can avoid potential space issues and lower your risk of damaging anything with the soldering iron. Those things get hot after all. Most likely you can finish all of the soldering before doing anything else.
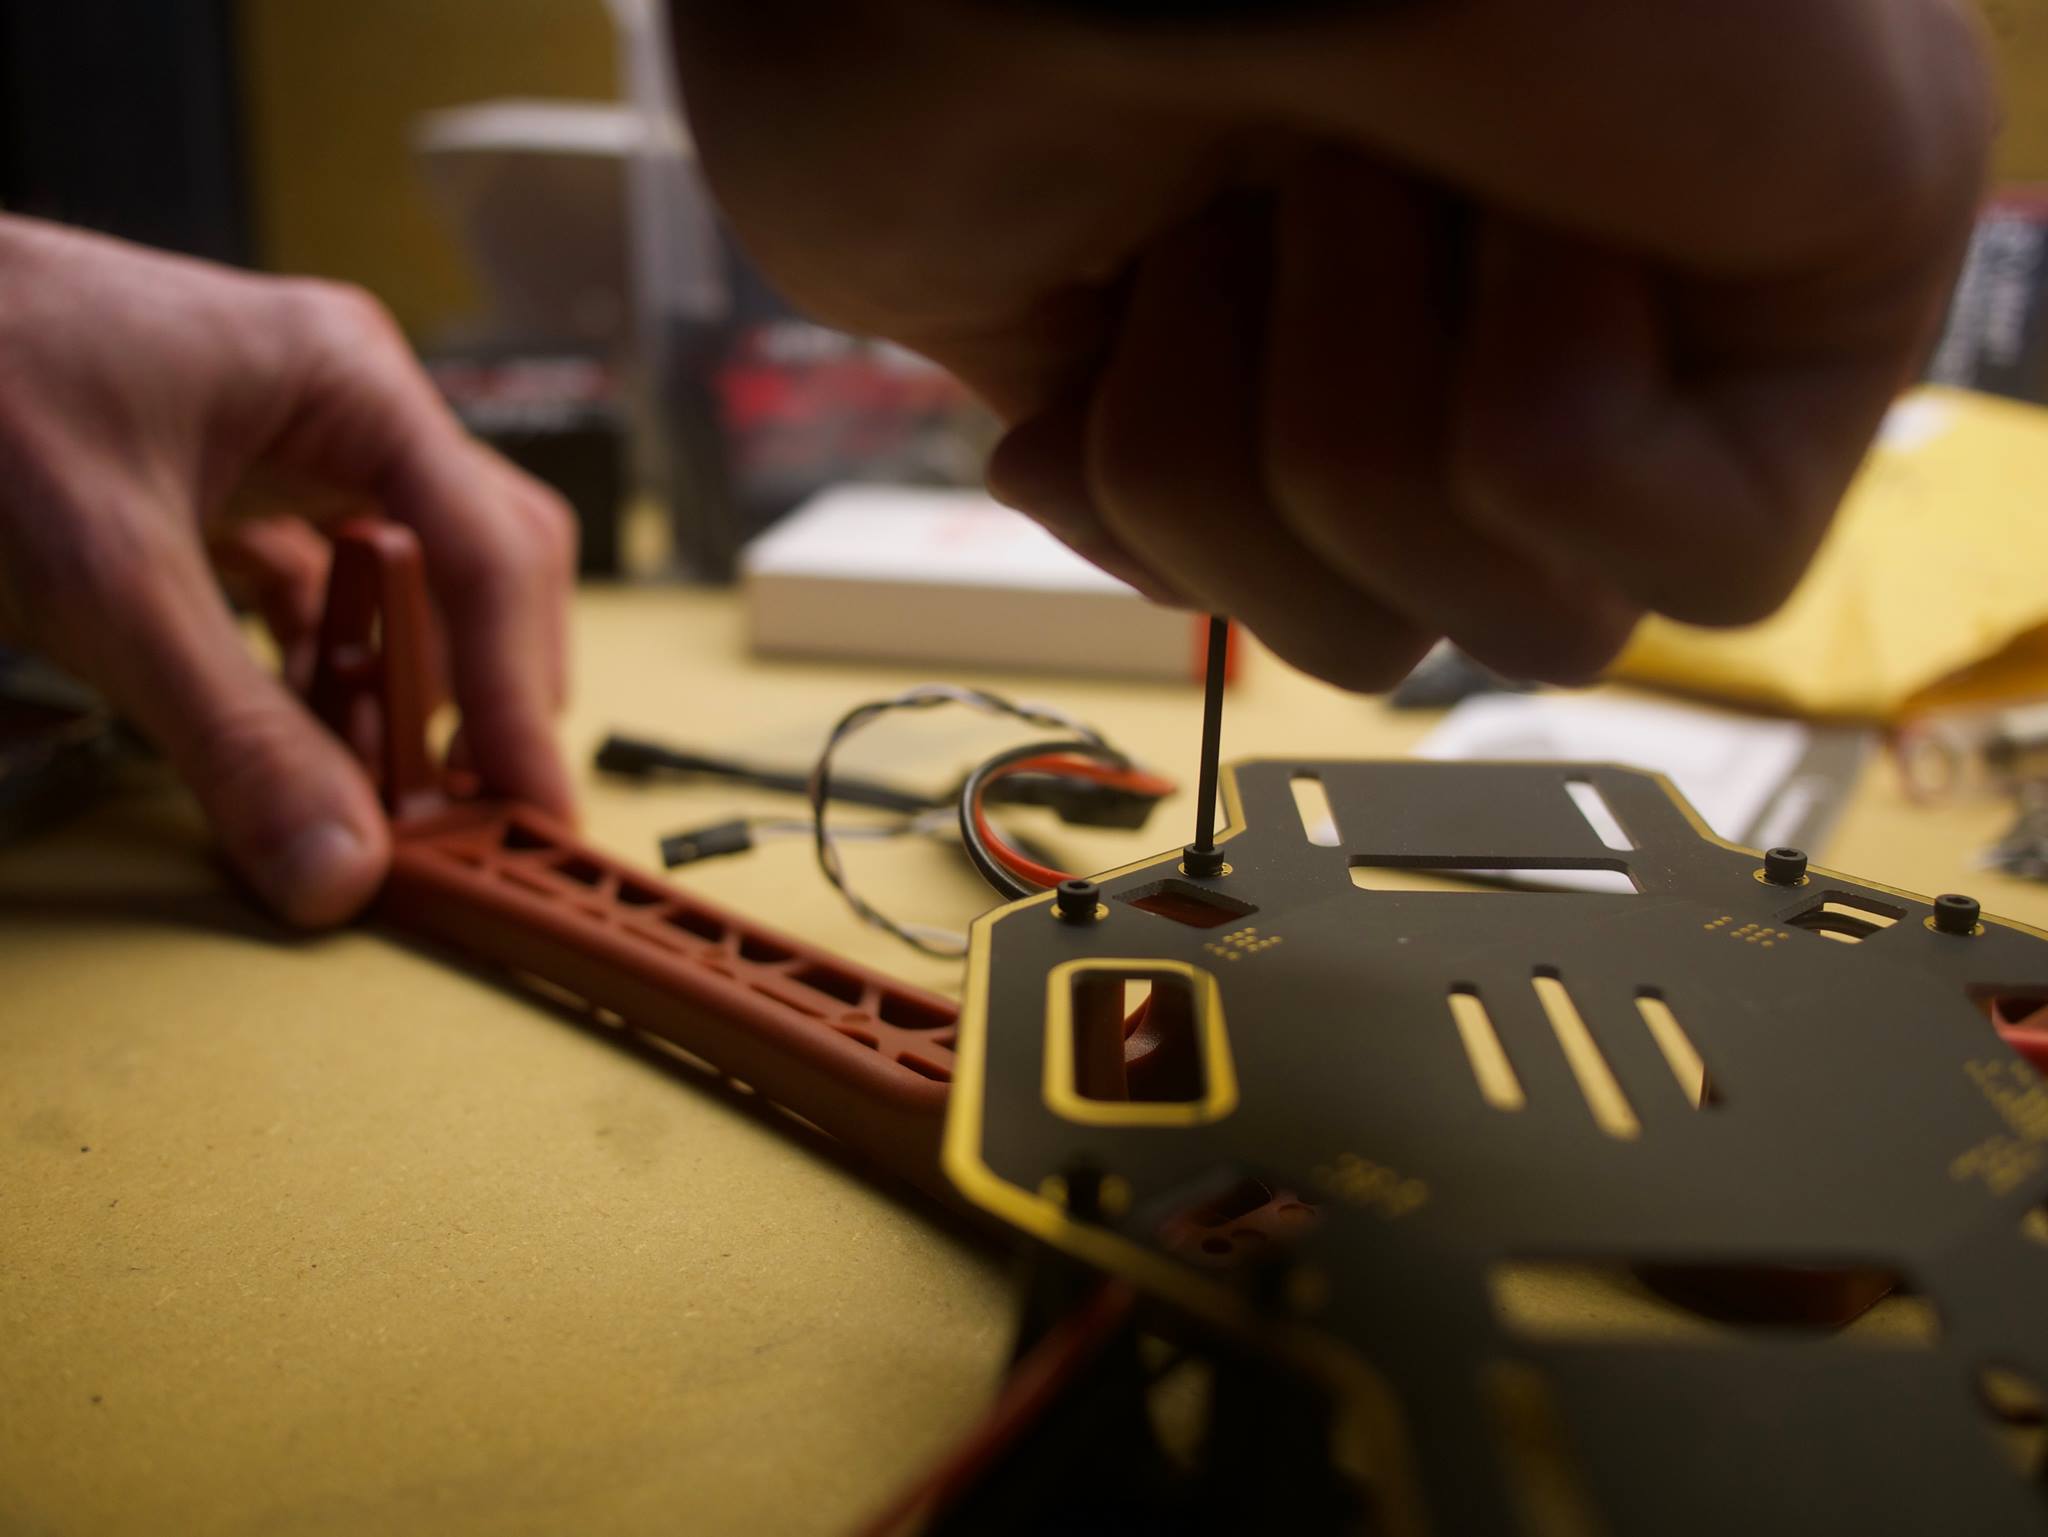
Step 2: Begin Building the Frame
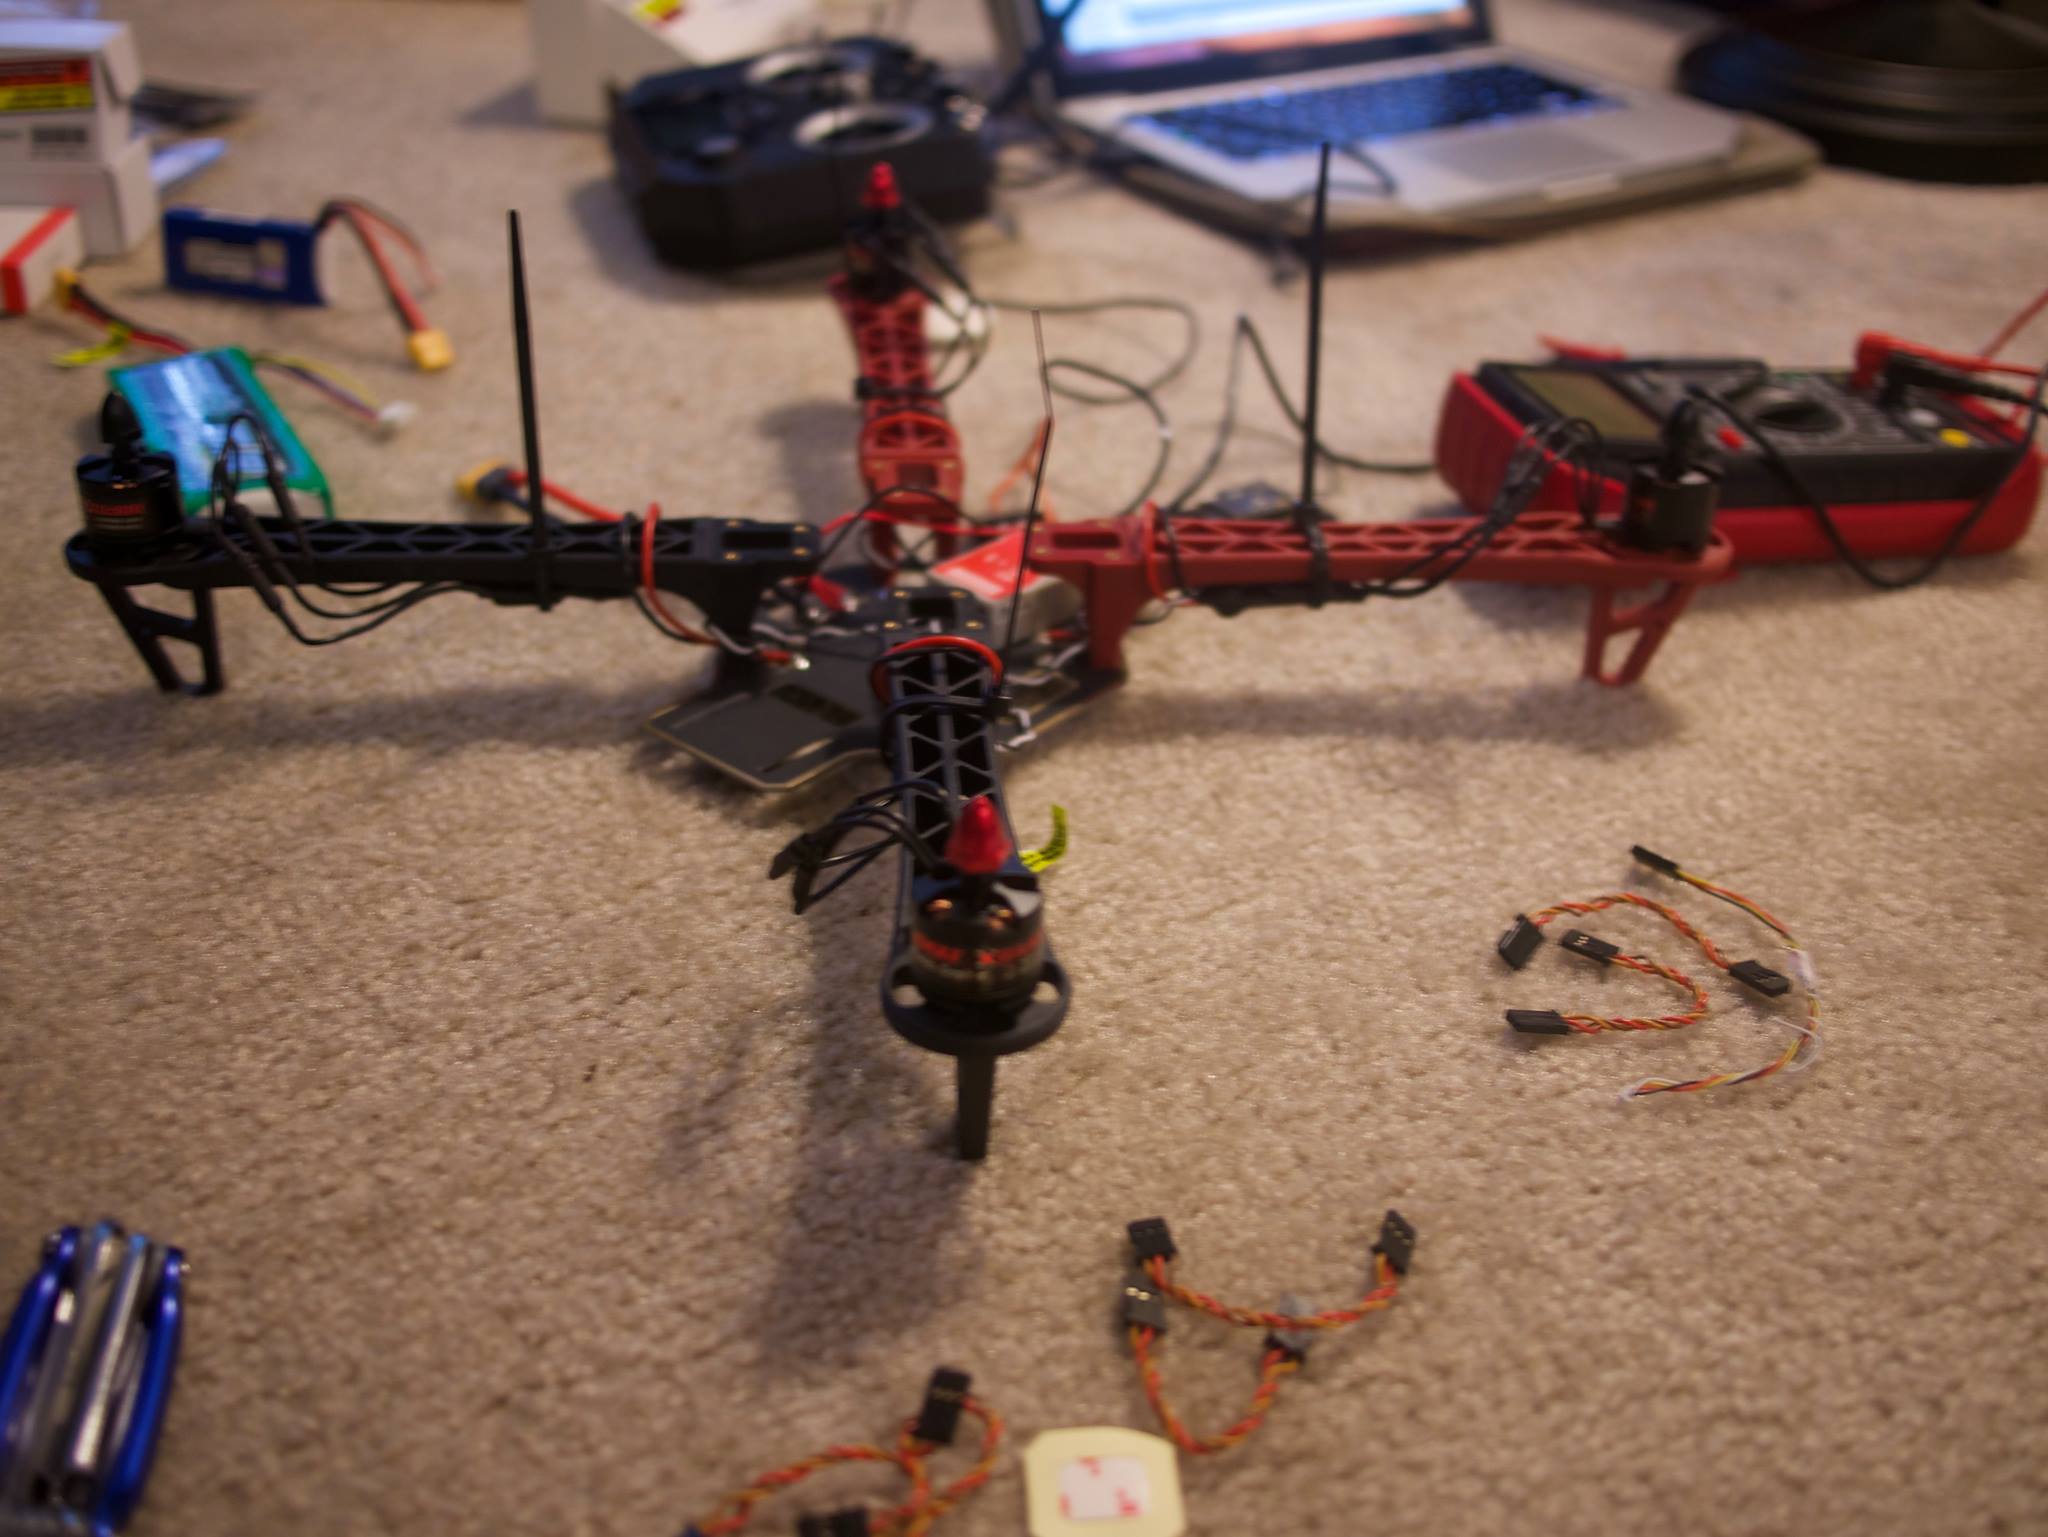
Once you have soldered everything, you're ready to start assembling the frame. You may start like we did with the assembling the main pieces like the arms to the center. You may start by securing the motors to the arms. Continue until you have the frame largely assembled but still open for easy access to all points.
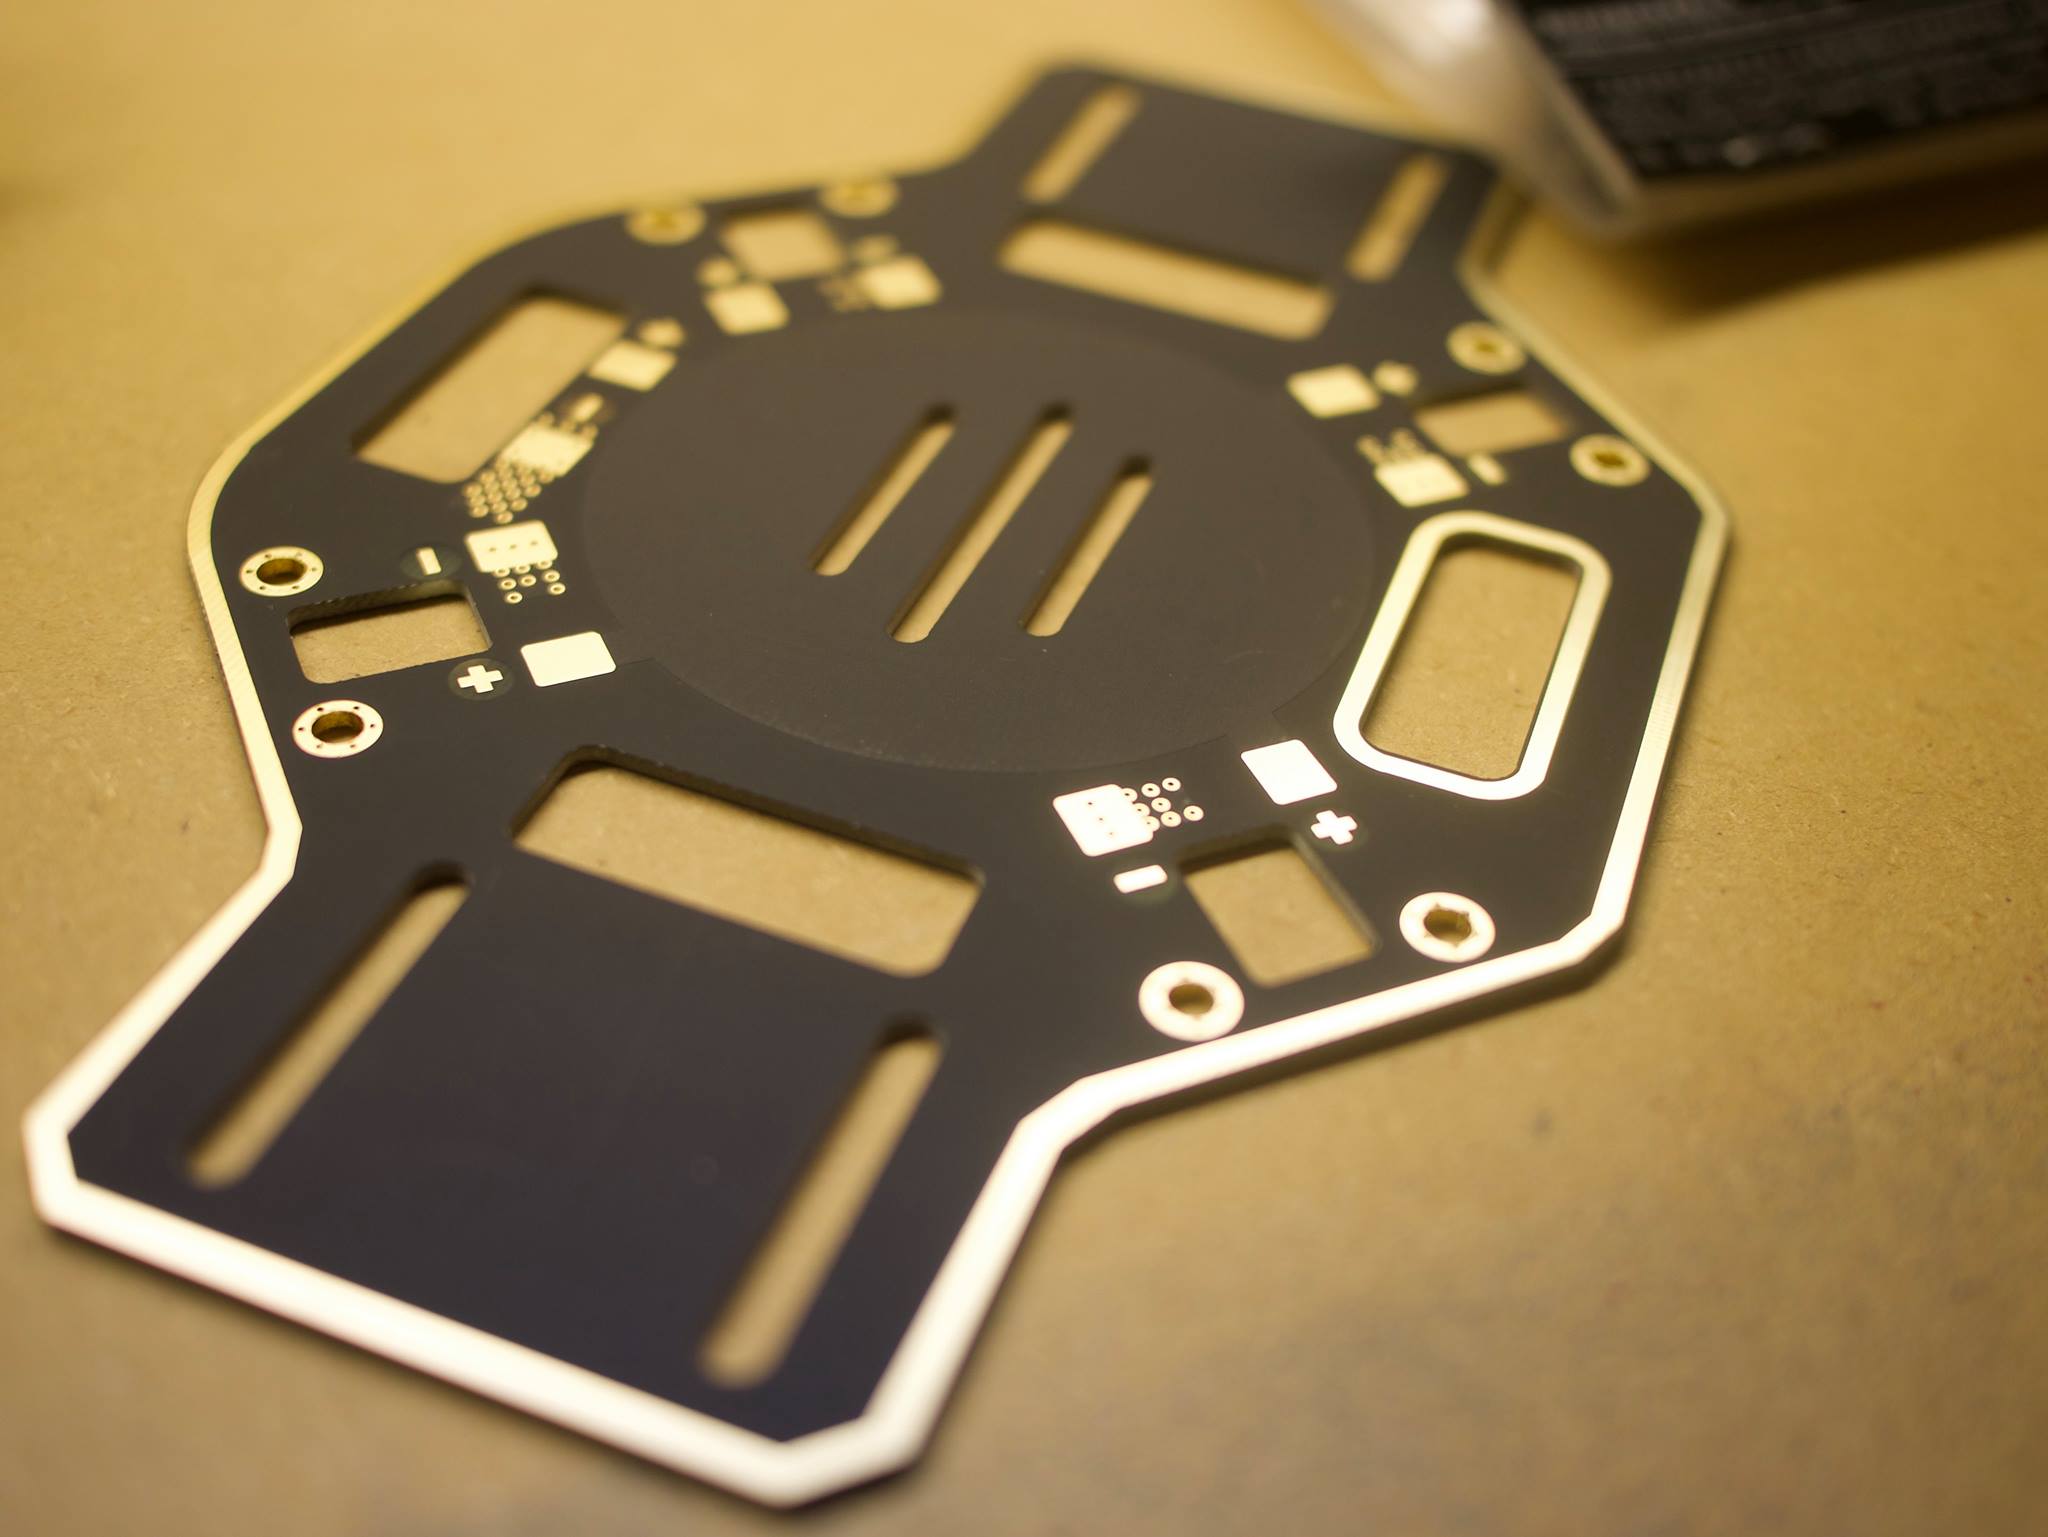
Step 3: Mount Electronics
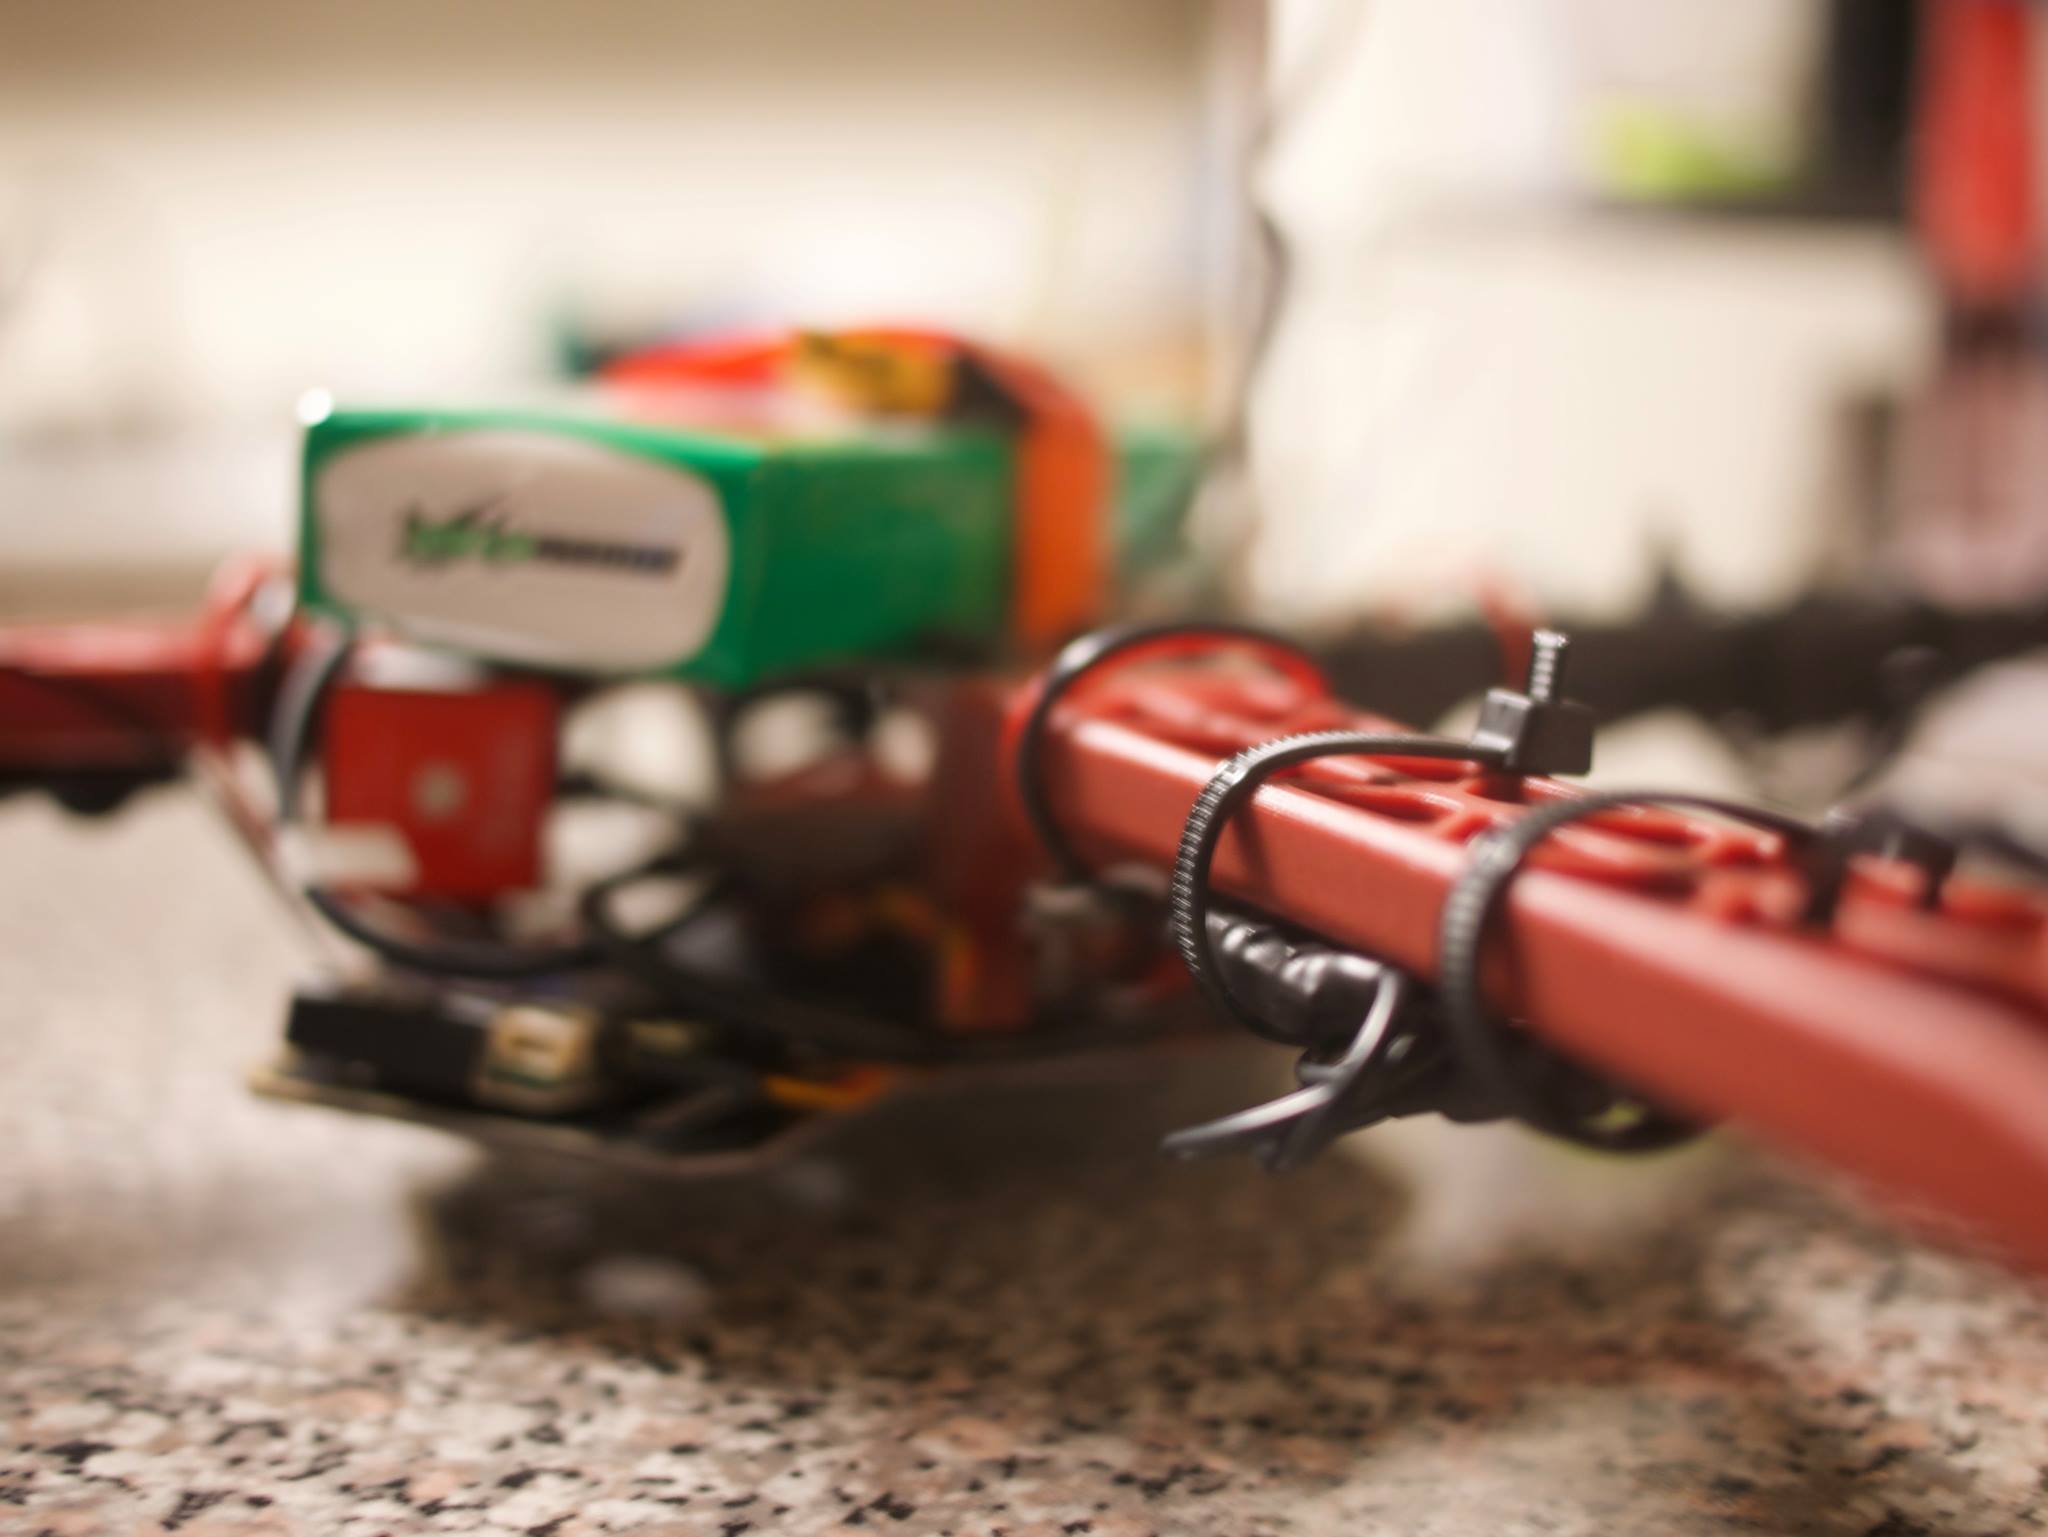
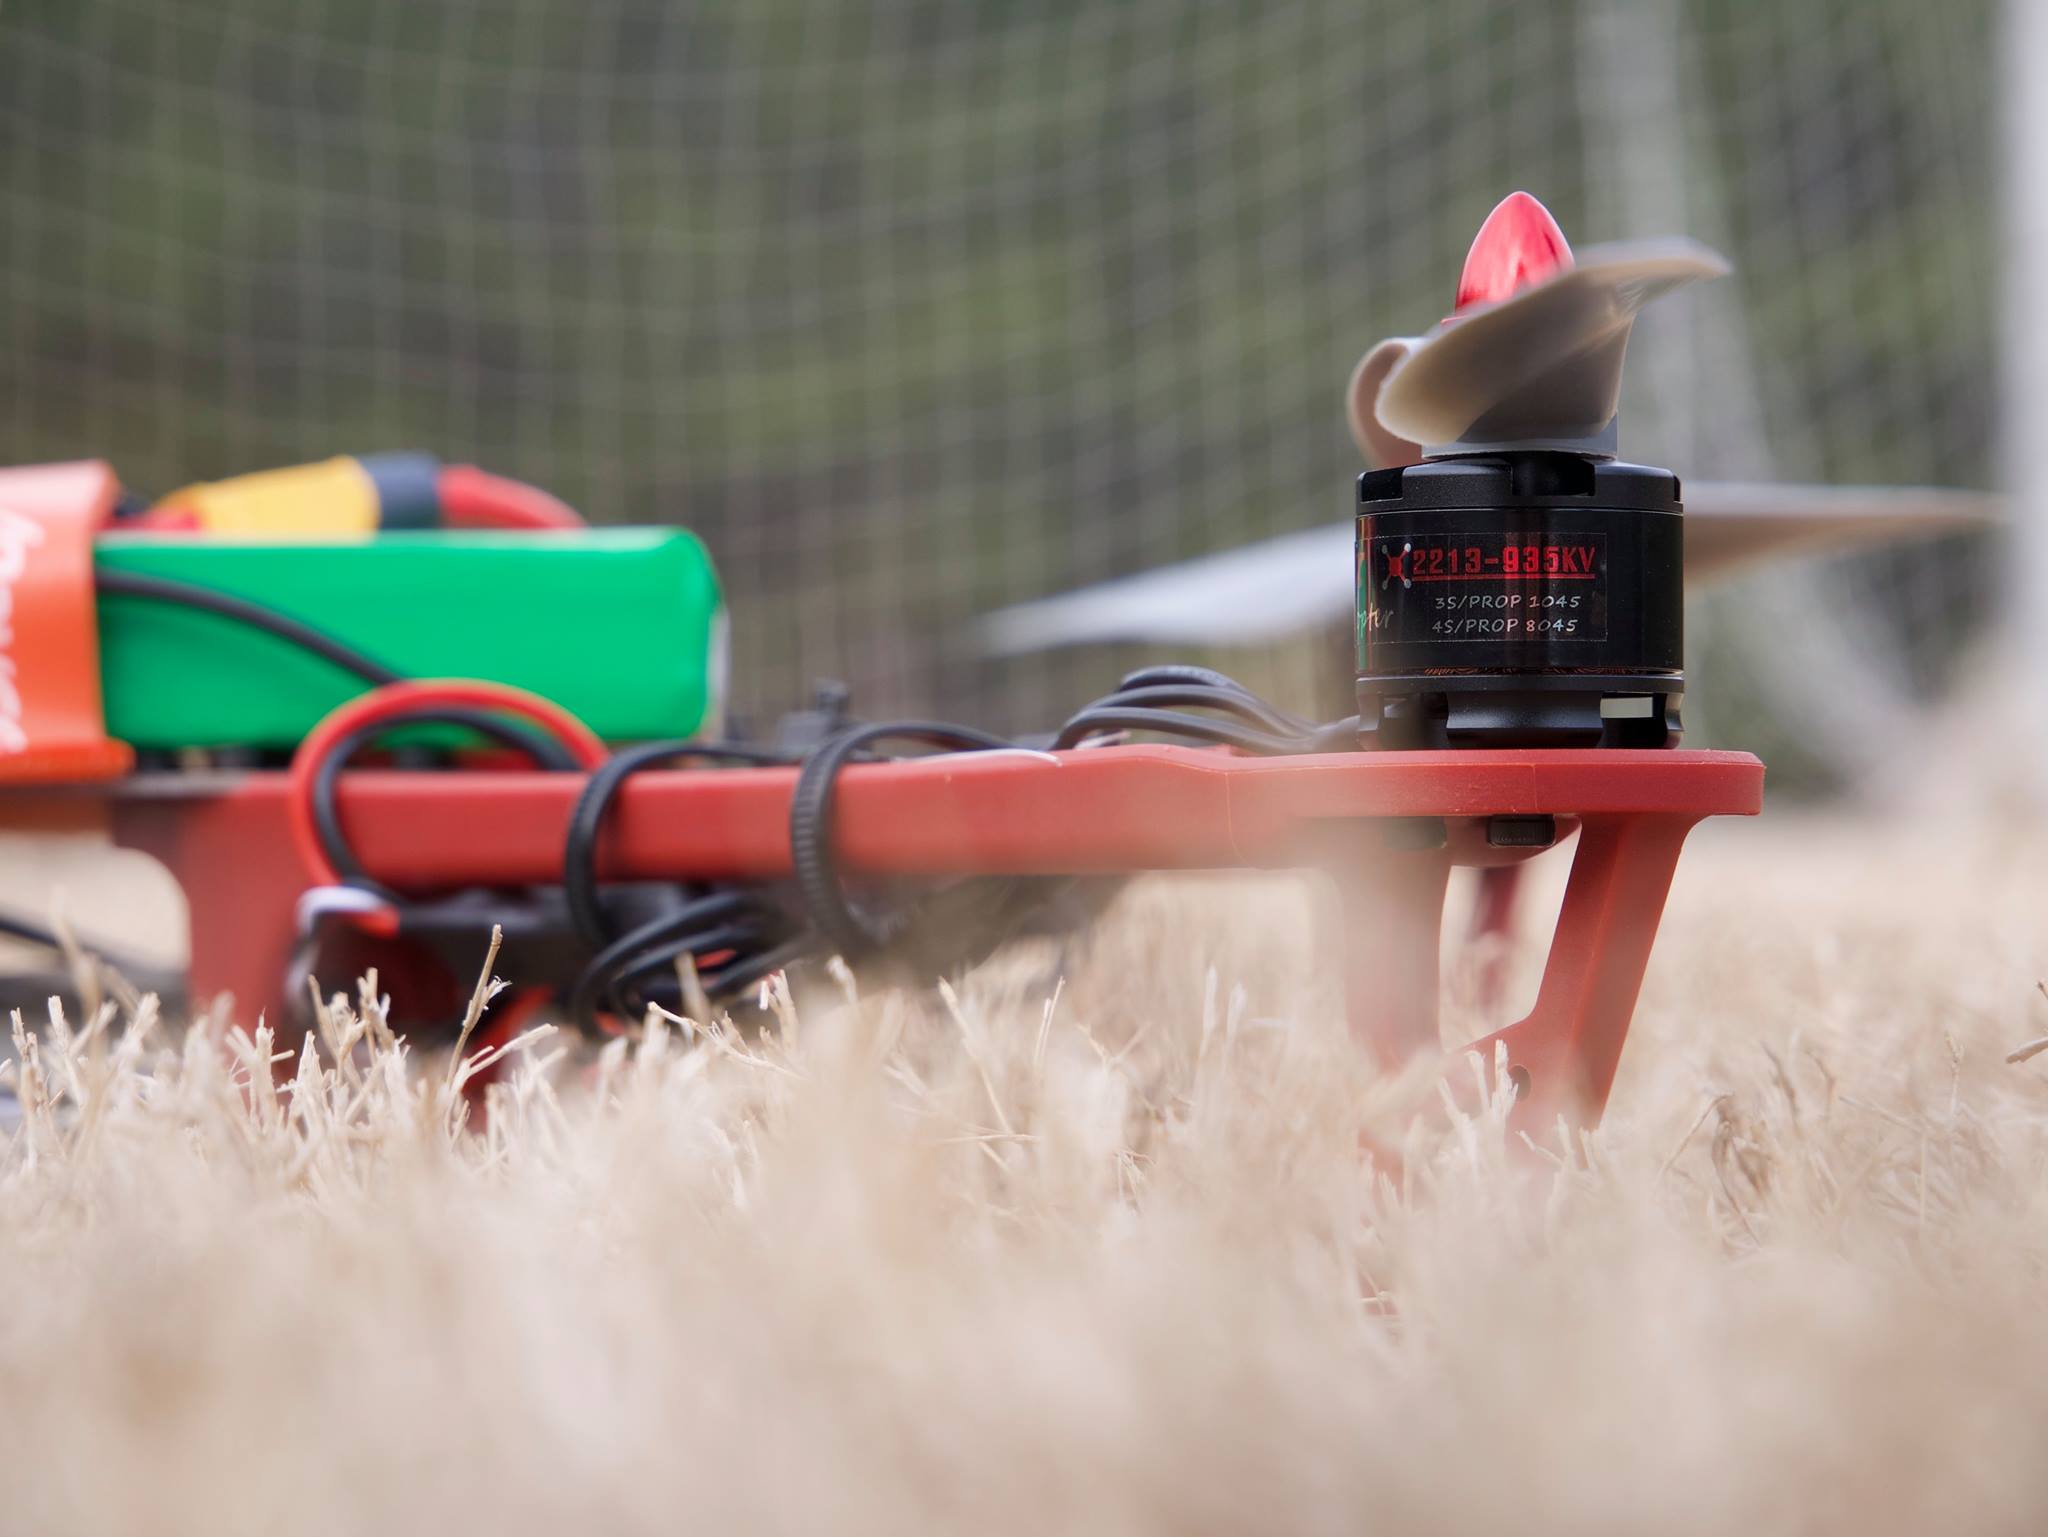
Once you have begun putting the frame together you can begin to place/mount your electronics. In our quadcopter we nestled the FC, PMU, and receiver atop the PDB on the lower of the two levels of our frame center. We mounted the battery and the GPS antenna on the top. And we mounted our LED indicator on the back of the quadcopter on an arm near the center of the quadcopter so we could see it most easily. Remember to place your receiver such that its antenna (ours is loose and unsecured by a rigid guide) is not anywhere it could get hit by the propellers. Make sure to tie down any wires/cables - we used zip ties - to keep them secure and especially out of the way of the propellers.
Step 4: Configure Electronics
Once you have the electronics located, it is time to power them up and configure them. Read the manuals for your FC, ESC's, receiver, and transmitter thoroughly to ensure you have them all configured properly. You may not need to fully configure your FC at this time. The DJI Naza-M Lite is configured by connected it via USB to its companion software on a computer. Future configuration is both possible and likely so we made sure to put make the micro-USB port available when the quadcopter would be fully assembled.
Step 5: Test Motors WITHOUT PROPELLERS
As we got our electronics talking, we were able to get our motors spinning. Again, DO NOT MOUNT THE PROPELLERS AS OF THIS STAGE OF THE BUILD. Go through different combinations of signals on your transmitter and try to observe the speed changes in the motors. The motors should not be damaged running with no load and you shouldn't need to worry about max current and no-load either.
Step 6: Finish Assembly
At this point you should double-check the assembly so far, especially for propeller clearance. Zip tie any wires that need to be secured still. And then you should go ahead and finish assembling the quadopter.
Step 7: Finish Any Remaining Configurations
The ESC's and receiver should already be configured. However, the FC configuration may still be pending changes. Make any necessasry, known changes now.
Step 8: Charge Battery
At this point, you are ready to charge your battery (if you have not started already). Remember that LiPo batteries should always be charged in a fireproof bag and under supervision for safety. You do not have to stare at the battery for 5 hours. But you should be present in so much as you could quickly respond should the battery puff, smoke, or ignite.
Step 9: Put It All Together
At this point you should have a fully assembled and configured quadcopter (lacking propellers) and a fully charged battery. You are now ready to attach your propellers, plug your battery in, and perform any pre-flight calibrations. An example of a pre-flight calibration is compass calibration. You may need to hold your quadcopter in different orientations and spin around with it to calibrate its compass.
Step 10: Perform Pre-flight Check and Power Up
Ensure all in the area are a safe distance from the UAV. Follow the appropriate sequence for plugging your battery in. (This likely will include ensuring your throttle stick is all the way down at zero or simply at the neutral center if spring-loaded.) Be very careful when executing the initial power-up of a UAV. Follow all available instructions regarding pre-flight protocol and be vigilent to avoid any accidents due to unexpected propeller motion.
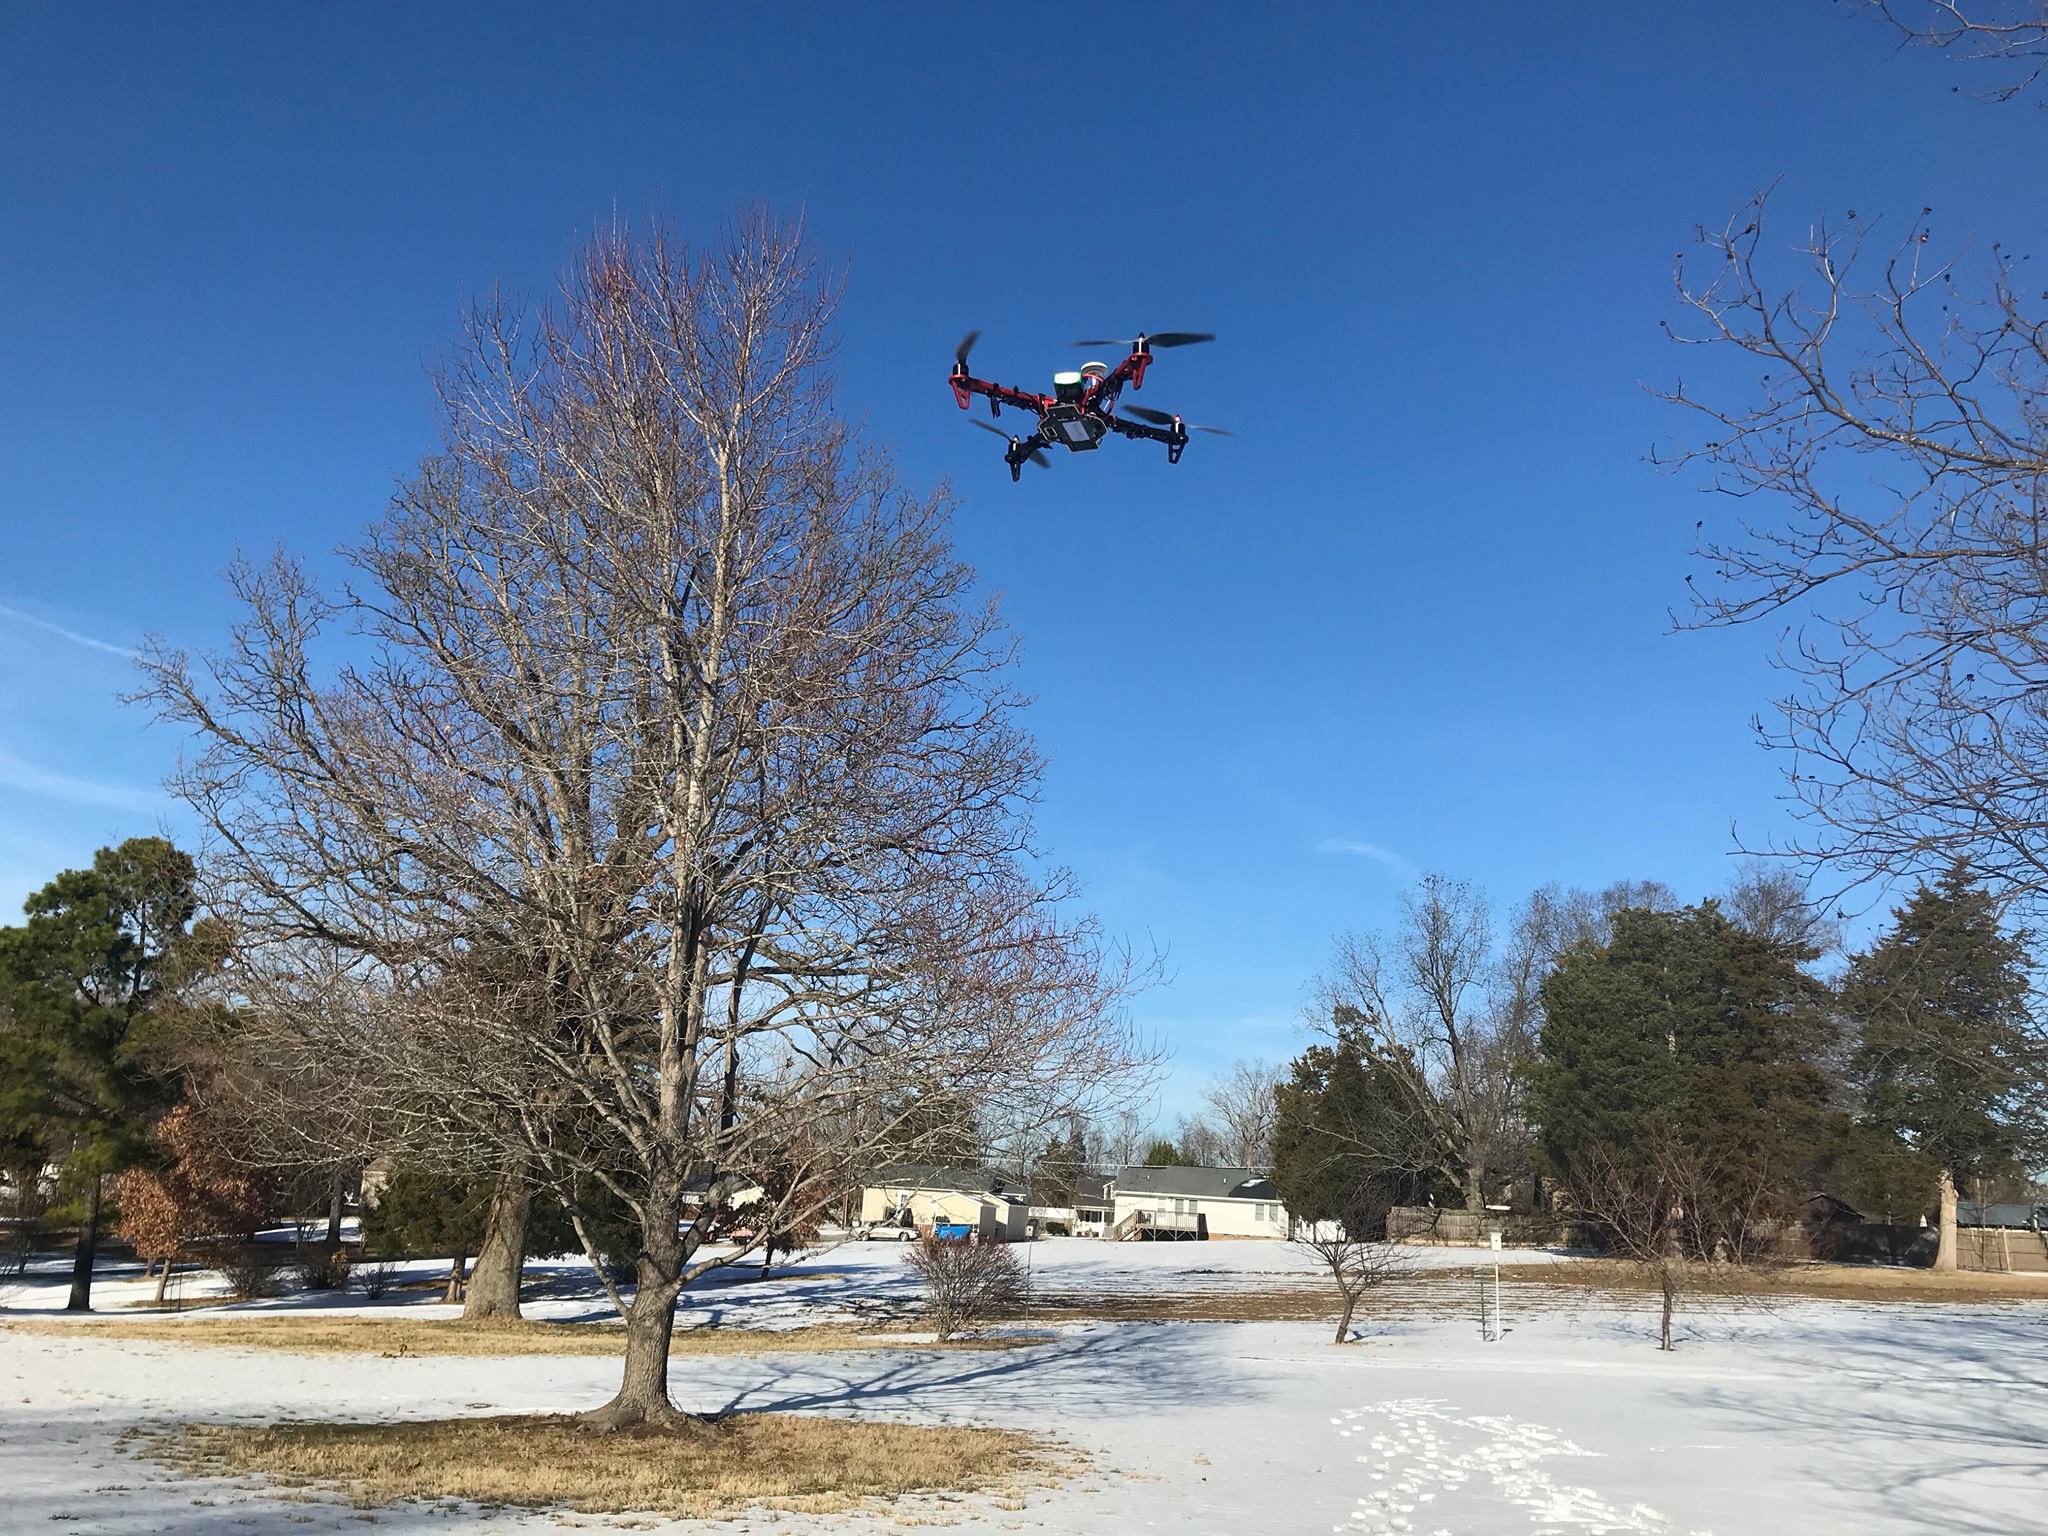
After following these steps, you should be ready to fly based on your configuration. We wish you the best!